
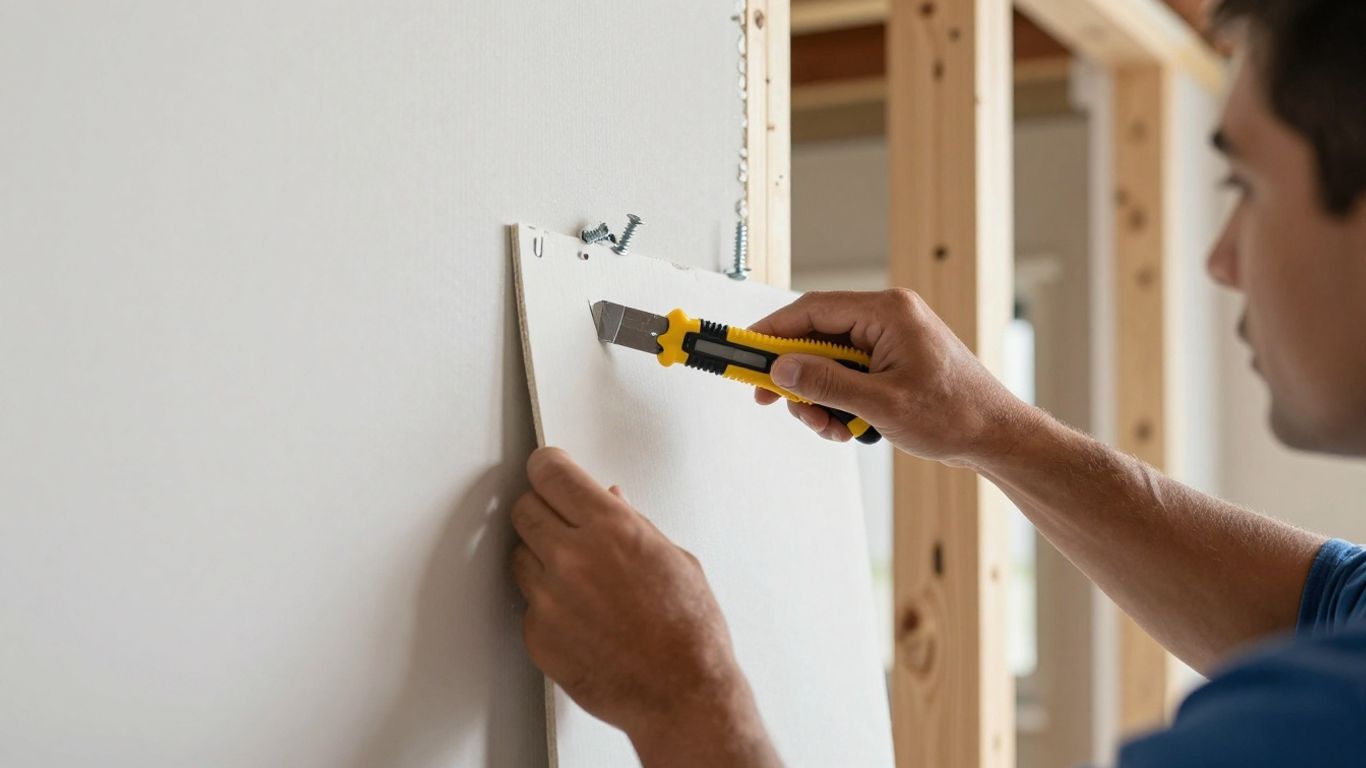
Drywall installation is one of those jobs that looks simple from the outside and humbles a lot of first-time DIYers once they actually start. I’ve been doing renovation work across Laval and Montreal since 2013, and the calls I get to fix a drywall job gone wrong almost always trace back to the same handful of shortcuts — rushed measuring, skipped prep, or mudding that got rushed instead of dried properly. None of it is complicated once you know what to watch for, so here’s how we approach it on our own jobs.
What Drywall Installation Actually Involves
Drywall itself is straightforward — gypsum plaster sandwiched between two layers of heavy paper, sold in large panels that get screwed to your wall studs or ceiling joists. What makes drywall installation more involved than it looks is everything around hanging the sheet: prepping the framing, cutting accurately, securing it properly, and then taping, mudding, and sanding until the seams disappear completely. Most of the DIY drywall problems we get called to fix aren’t about the hanging — they’re about someone rushing the finishing work.
Tools You’ll Actually Need
You don’t need a huge kit for this, but a few things aren’t optional:
- A tape measure, T-square, and chalk line for accurate layout
- A utility knife or drywall saw for cutting
- A drill or drywall screw gun for fastening
- A set of drywall knives in a few widths for mudding
- Fine-grit sandpaper (120–150 grit) or a sanding pole
- Safety glasses and a dust mask — gypsum dust is not something you want to be breathing for a weekend project
Choosing the Right Drywall for the Room
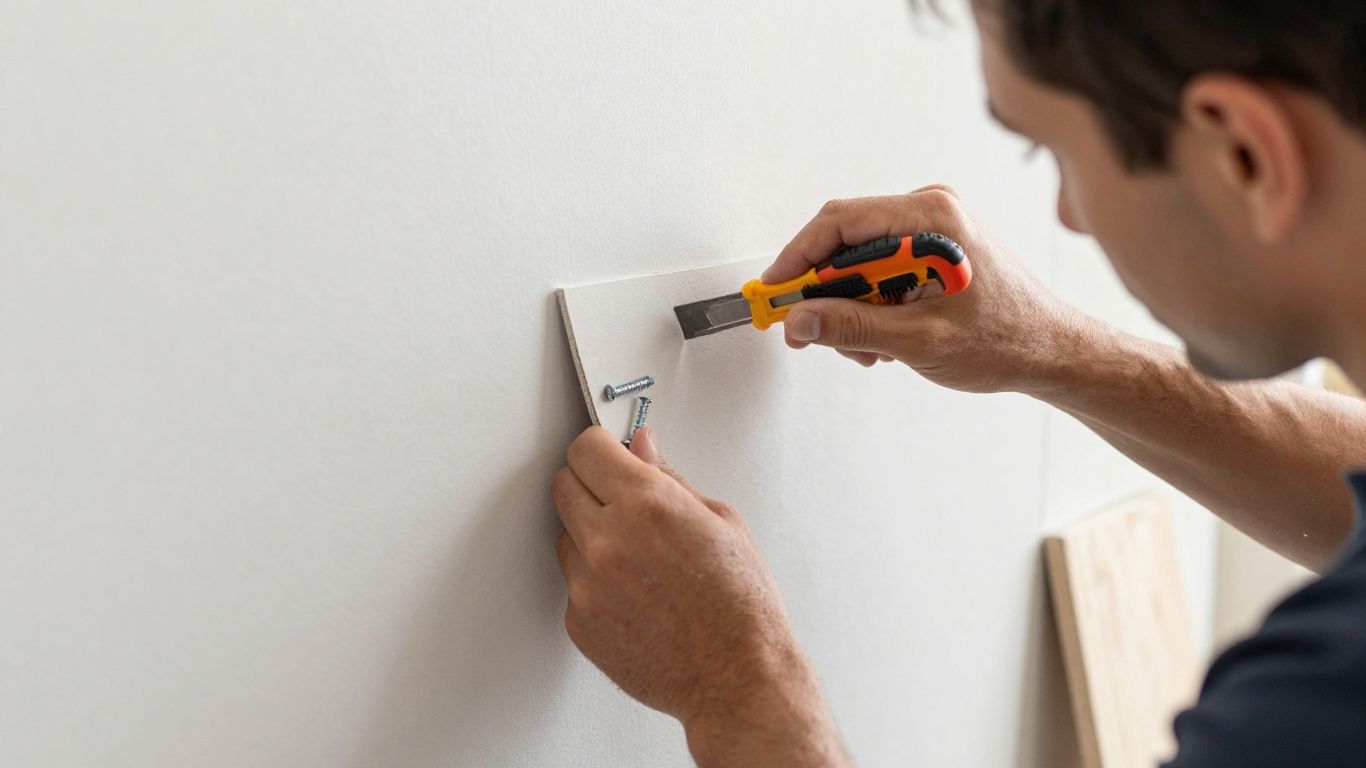
Not every wall calls for the same panel. We typically spec:
- Standard drywall (1/2 inch) for most living spaces — bedrooms, living rooms, hallways.
- Moisture-resistant drywall (green board) for bathrooms and other areas that see regular humidity.
- Fire-resistant drywall (5/8 inch) for basements, garages, or shared walls, where the added density also helps with sound dampening.
- 1/4 inch drywall for curved walls or skim-coating over old plaster that’s not worth tearing out.
Matching thickness matters if you’re patching into existing walls — mismatched thickness is one of the more common reasons a patch job is visible after painting.
Preparation: Where Most Jobs Are Won or Lost
Before a single sheet goes up, we check two things: the framing and the measurements. Studs should be spaced 16 or 24 inches on center, plumb, with level top and bottom plates — any twist or bow in the framing telegraphs straight through to the finished wall as a wave or a soft spot. We also flag any wiring or plumbing running through the studs so it gets a protective plate before drywall goes over it; putting a screw through a live wire is an expensive mistake to make once.
For measuring and cutting: measure the space, note every window, door, and outlet, and measure again before you cut. Leave roughly a half-inch gap at the floor — that gap allows for the house’s natural expansion and contraction and protects the drywall if there’s ever water on the floor. Always cut from the face side to keep the paper clean, and if you’re working alone, consider ordering smaller sheets — a full 4×8 sheet is genuinely difficult to control solo.
Hanging the Sheets
This is the part that starts to feel like real progress. A few things we do on every job:
- Adhesive first. A bead of drywall adhesive on the studs before the sheet goes up cuts down significantly on popped screws down the road.
- Screw spacing. Drive screws every 12–16 inches into the studs, just deep enough to dimple the paper without tearing it. Over-driving is one of the most common DIY mistakes we see — it weakens the hold and telegraphs through the mud.
- Corners. Leave a small 1/8-inch gap at inside corners so the board has room to expand without crumbling. At outside corners, let one sheet overlap slightly and trim it flush once the adjacent sheet is up.
- Openings. Hang the full sheet first, then cut out for windows, outlets, and doors — and try to avoid landing a seam right at the corner of an opening, since that’s a common spot for cracks to develop later.
Taping and Mudding: Where the Job Actually Gets Finished
This is the step that separates a professional-looking wall from an obviously patched one, and it’s also the step most DIYers rush.
Taping. Spread a thin layer of joint compound over the seam, embed your tape into it while it’s wet, and smooth out air bubbles with a drywall knife. For inside corners, fold the tape and press it into the joint, mudding both sides.
Mudding — expect three coats. The first coat covers the tape and fasteners with a wider knife. The second coat spreads wider still, feathering the edges into the surrounding wall. A third, thinner coat catches whatever’s left and blends the seam into the wall so it disappears. Each coat needs to dry fully before the next — depending on humidity, that can mean overnight. Rushing this step is the single biggest reason DIY drywall jobs end up with visible seams once painted.
Sanding, Cleaning, and Priming
Once the final coat is dry, sand with 120–150 grit paper (a sanding pole helps on larger walls) to knock down any high spots — you’re levelling, not stripping material. Wipe the walls down with a damp cloth or vacuum with a brush attachment, since any dust left behind will show up under paint. Then prime with a drywall-specific primer before painting; skipping primer is how you end up with blotchy, uneven paint absorption between the drywall paper and the mudded seams.
Wear a dust mask and safety glasses for sanding, and if you’re only finishing part of a room, hang plastic sheeting over doorways to keep the dust contained.
Mistakes We Get Called In to Fix Most Often
After more than a decade in Montreal and Laval homes, the same issues come up repeatedly:
- Uneven or unchecked framing that shows through as a wavy finished wall
- Rushed mudding coats applied before the previous one fully dried, leading to cracking
- Over-driven screws that tear the face paper and weaken the hold
- Skipped primer, leaving visibly patchy paint
None of these are difficult to avoid — they just take patience, which is honestly the hardest part of drywall installation for most first-timers.
Frequently Asked Questions
Is drywall installation a realistic DIY project?
For a single room, yes, provided you’re willing to take your time with preparation and the finishing stages. While hanging drywall is manageable for many DIY homeowners, larger or more complex spaces often require professional expertise. One of the most common issues we see is joint compound that wasn’t given enough time to dry between coats, resulting in visible seams and uneven finishes.
How many coats of joint compound do I actually need?
Most drywall projects require three coats of joint compound. The first coat embeds the drywall tape, the second coat widens and smooths the joint, and the final thin coat feathers the seam into the surrounding wall for a seamless finish before sanding and painting.
What thickness of drywall should I use?
1/2-inch drywall is the standard choice for most interior walls and ceilings. 5/8-inch drywall offers improved fire resistance and sound insulation, making it a popular option for basements, garages, and shared walls. In bathrooms, laundry rooms, and other humid areas, moisture-resistant drywall is recommended to help prevent mold and water damage.
Why do my seams keep showing after painting?
Visible drywall seams after painting are usually caused by one of two issues: the joint compound wasn’t feathered out wide enough to blend smoothly into the wall, or the surface wasn’t properly primed before painting. Careful finishing, thorough sanding, and using a quality drywall primer are essential for achieving a smooth, professional-looking result.
Work With Us
If you’d rather hand the project to someone who does this daily, our team at SKLZ Construction handles drywall installation across Laval, Montreal, and the surrounding area — including Blainville, Boisbriand, Terrebonne, Rosemère, and Saint-Eustache. Reach us at (438) 826-7584 or info@sklzconstruction.com for a free, itemized quote.
Sebastien Lalonde is the founder of SKLZ Construction, a residential renovation company based in Laval, Quebec, serving the greater Montreal area since 2013.