
Thinking about updating your bathroom but feeling a bit lost on where to start? You’ve landed in the right spot. Planning a bathroom remodel might seem like a big job, but honestly, with a clear plan, it can actually be pretty enjoyable. This guide is here to help you through the whole process, from figuring out the basics of bathroom layout design to putting on the finishing touches. We’ll break it down step-by-step so you can get the bathroom you’ve always wanted.
Key Takeaways
- Start by really looking at your current bathroom space and thinking about how you use it.
- Sketch out your ideal bathroom layout design, considering what you need and want.
- Focus on making the space feel open and easy to move around in.
- Pick fixtures and materials that fit your style and the room’s size.
- Don’t forget to plan for plumbing, electrical, lighting, and ventilation.
Introduction – Bathroom Layout Design Basics
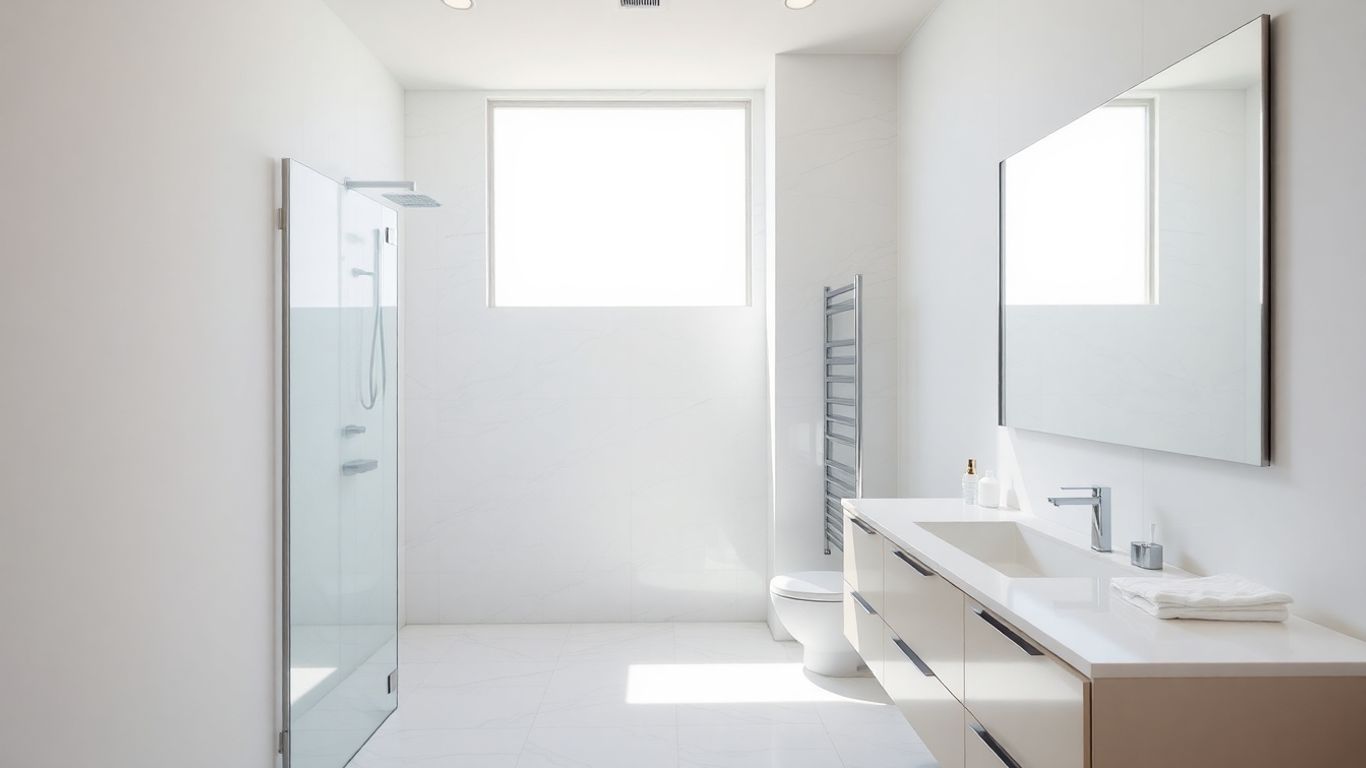
Planning a bathroom remodel can feel like a puzzle, especially when it comes to the layout. Getting the bathroom layout design right is more than just picking out pretty bathroom tiles or deciding on cabinet solutions; it’s about making the space work for you, day in and day out. Whether you’re aiming for a sleek, modern bathroom arrangement or trying to make a small bathroom floor plan feel more spacious, the foundation is a smart layout. This guide will walk you through the steps to create a functional and beautiful bathroom, covering everything from initial planning to the final touches. We’ll touch on everything from master bathroom remodeling services considerations to basic bathroom remodel ideas.
Think about how you use your bathroom. Is it a quick stop in the morning, a place for a long soak after a tough day, or a shared space for multiple people? Your daily routine heavily influences the best layout. A well-designed bathroom layout maximizes both space and flow, making even the smallest rooms feel comfortable and efficient.
Here are some key things to consider right from the start:
- Prioritize Fixtures: Start by thinking about the main players: the toilet, sink, shower, and tub (if you have one). Their placement is the backbone of your layout.
- Consider Traffic Flow: How will people move around? You don’t want to be constantly bumping into things or have doors blocking access to the toilet or vanity.
- Storage Needs: Where will towels, toiletries, and cleaning supplies go? Good storage is key to a tidy and functional bathroom.
- Wet vs. Dry Zones: Think about separating the wet areas (like the shower) from the dry areas (like the vanity and dressing space) to keep things practical and prevent water damage.
Planning your bathroom layout is like drawing a map for your daily routine. Every element needs to have its place, and the paths between them should be clear and easy to follow. It’s about creating a space that feels natural to use, not one that makes you think twice about where to put your towel or how to open the door.
We’ll explore different approaches to help you find the perfect bathroom design, whether you’re looking at compact solutions or planning a full master bathroom renovation. Don’t worry if you’re not a design pro; we’ll break it down simply. You can even explore various bathroom floor plans to get a feel for what might work best for your space.
Step 1 – Evaluate Your Existing Bathroom Space
Before you even think about picking out new tiles or a fancy faucet, you’ve got to really look at what you’re working with right now. This is where the rubber meets the road for optimizing bathroom space. Grab a tape measure, a notepad, and maybe a cup of coffee, because we’re going to get down to business.
First off, what are you actually using this bathroom for? Is it the main family bathroom, a quick powder room for guests, or a private ensuite? The answer to this question shapes everything. Think about who uses it and how often. A busy family bathroom needs to be durable and functional for multiple people, while a guest powder room can be a bit more about style.
Next, let’s talk about the current layout. Where are the sink, toilet, and shower or tub? What are the dimensions of the room? Don’t just guess; measure everything. Note down the length, width, and ceiling height. Also, pay attention to where the doors and windows are. Do the doors swing in a way that blocks off half the room? Are the windows placed where you’d ideally want a shower or vanity?
Consider the “wet zones” – the areas around the shower, tub, and sink. How are these currently handled? Is there adequate waterproofing? Are there any leaks or water damage you need to address? Thinking about these zones now will save you headaches later.
Here’s a quick checklist to get you started:
- Measure everything: Room dimensions, door swings, window locations, and the space each current fixture takes up.
- Identify pain points: What drives you crazy about the current layout? Is it the lack of counter space, the cramped shower, or the awkward placement of the toilet?
- Assess plumbing and electrical: Where are the existing water lines and drains? Where are the electrical outlets and light switches? Knowing this helps plan for any changes.
- Think about natural light: How much light do you get from windows? Is it enough, or will you need to rely heavily on artificial lighting?
It’s also a good idea to check local regulations. For instance, you might wonder, do I need a permit for interior renovation in my condo?” A quick call to your building management or local planning department can clear this up and prevent future issues.
Finally, take a good, hard look at your current fixtures. Are they standard size, or are they bulky? Could smaller, more space-efficient options work for your needs? This initial assessment is the bedrock of a successful bathroom remodel. It’s not the most glamorous part, but it’s absolutely vital for making sure your new layout actually works for you.
Step 2 – Plan Your Ideal Bathroom Layout Design
Alright, so you’ve got a good handle on what your current bathroom is like and what you’re working with. Now comes the fun part: actually planning out what you want this new space to look and feel like. This is where you start sketching out ideas, much like you might design a kitchen layout, but for your personal oasis.
Think about the main things you need in your bathroom. Most people need a toilet, a sink, and some kind of shower or tub. Where these go is the big question. You want to make sure there’s enough room to move around without bumping into things. It’s a good idea to draw this out, even if it’s just on a piece of paper. You can use graph paper to get the dimensions right.
Here are some things to consider when you’re mapping it out:
- Fixture Placement: Where will the toilet, sink, and shower/tub go? Try to group plumbing together if you can, as this can sometimes simplify things.
- Door Swings: Make sure the bathroom door doesn’t hit anything when it opens, and that it doesn’t block access to important fixtures.
- Wet vs. Dry Zones: Think about separating the area where you shower from the area where you get dressed or brush your teeth. This helps keep things dry and makes the space feel more organized.
- Storage: Where will you put towels, toiletries, and cleaning supplies? Built-in cabinets or shelves can make a big difference.
Don’t try to cram too much into a small space. Sometimes, less is more. A well-planned layout that feels open and easy to use is better than one that’s packed with features but feels cramped.
It can be really helpful to use online tools or apps that let you play around with different layouts. You can often see your design in 2D and even 3D, which gives you a much better idea of how it will actually look and feel. This is the stage where you really start to see your dream bathroom come to life on paper, before any actual work begins.
Step 3 – Maximize Space and Flow
Okay, so you’ve got your basic layout sketched out. Now, let’s talk about making that space actually work for you. It’s all about how things fit together and how easily you can move around. Think about it like arranging furniture in a living room – you don’t want to be bumping into things every time you walk across the room, right?
The goal here is to make every square inch count without making the room feel cramped.
First off, let’s consider the ‘zones’. You’ve got your wet zone (shower, tub, sink) and your dry zone (where you get dressed, store towels). It makes sense to keep these somewhat separate. If your toilet is right next to the shower, things can get a bit awkward and damp. Trying to create a clear path from the door to the vanity and then to the shower or tub is a good idea. Nobody likes a bathroom where you have to do a weird dance to get to the sink.
Here are a few things to keep in mind:
- Fixture Placement: Don’t just plop things down. Think about how you’ll use the space. For example, make sure towel bars are actually reachable from the shower or tub. And if you have a vanity, ensure there’s enough room to open drawers and cabinets without hitting the toilet or a wall.
- Door Swings: This is a big one. A door that swings inward and blocks half the room or hits the toilet is a real pain. Sometimes, a pocket door or a sliding door can be a lifesaver in tight spots. It’s amazing how much floor space a swinging door eats up.
- Vertical Space: Don’t forget about going up! Shelving above the toilet, wall-mounted cabinets, or even recessed niches in the shower can add a ton of storage without taking up valuable floor area. This is where smart storage solutions really shine, helping to keep things tidy and the room feeling open. You can find some great prefab cabinets or open shelving options that won’t break the bank.
Sometimes, the best way to make a small bathroom feel bigger is to think about what you don’t put in it. Less clutter equals more perceived space. Consider wall-mounted toilets or vanities; they create a sense of openness by leaving the floor visible underneath.
Think about how people will actually use the bathroom. Will two people be trying to brush their teeth at the same time? If so, you’ll need adequate space around the vanity. If it’s a primary bathroom, maybe you want a bit more separation between the shower and the main vanity area. It’s about making the room functional for its intended users. Planning for efficient plumbing by grouping fixtures can also simplify things and save space.
Step 4 – Choose the Right Fixtures and Materials
Alright, so you’ve got a pretty good idea of how you want your bathroom to look and feel. Now comes the fun part: picking out all the bits and pieces that will actually make it happen. This is where your bathroom really starts to get its personality.
Think about what you want your bathroom to do for you. Do you need more storage? A bigger shower? Maybe a double vanity so you and your partner aren’t bumping elbows every morning? These choices aren’t just about looks; they’re about how you’ll use the space every single day. The right fixtures and materials can make a huge difference in both function and feel.
Here’s a quick rundown of what to consider:
- Vanities: These are often the centerpiece. You’ve got options like pedestal sinks (great for small spaces), wall-mounted vanities (modern and easy to clean under), or traditional floor-standing units with storage. Think about the countertop material too – quartz is popular for being durable and low-maintenance, while marble offers a classic, high-end look but needs more care.
- Faucets and Showerheads: These are the workhorses. You can go for simple, classic chrome, or something more trendy like brushed nickel or matte black. Consider water-saving options if that’s important to you. For showers, think about the spray pattern – do you like a gentle rain, a strong massage, or something in between?
- Toilets: Beyond the basic function, you can look at comfort height toilets, dual-flush models to save water, or even smart toilets with extra features. Make sure it fits the space and your plumbing.
- Tubs and Showers: Are you a bath person or a shower person? If you want a tub, consider freestanding options for a spa-like feel or a built-in tub for practicality. For showers, think about the enclosure – glass doors can make a small bathroom feel bigger, but a tiled alcove is also a solid choice. Tile is a big one here, too. You’ll find everything from small, intricate mosaics to large format tiles that make cleaning easier.
- Flooring: This needs to be water-resistant and safe. Tile is the go-to, with porcelain and ceramic being common choices. Look for something with a bit of texture to help prevent slips when wet.
When you’re picking out materials, try to get samples if you can. Seeing how a tile looks next to your chosen vanity or how a faucet finish matches your hardware in your actual bathroom light can prevent costly mistakes. It’s easy to fall in love with something online, but reality can sometimes be a bit different.
Don’t forget about the little things, like cabinet hardware, towel bars, and toilet paper holders. These details tie everything together and can really add to the overall style. It might seem like a lot, but taking your time here means you’ll end up with a bathroom you love for years to come.
Step 5 – Incorporate Plumbing and Electrical Planning
Okay, so you’ve got your layout figured out and you’re excited about all the new fixtures. Now comes the part that’s a bit less glamorous but totally important: getting the plumbing and electrical systems sorted. This is where things get serious, and you really want to make sure it’s done right.
This stage is all about laying the groundwork for everything to function properly.
Think about where your water lines need to go for the sink, shower, and toilet. If you’re moving things around, this is the time to map it all out. The same goes for electricity. Where will the outlets be? What about lighting? And don’t forget about ventilation – that fan needs power too!
Here’s a quick rundown of what to consider:
- Water Supply Lines: Hot and cold water needs to reach every fixture. Planning their exact location is key, especially if you’re changing the vanity or shower setup. For example, a wall-mounted faucet needs different plumbing than a standard countertop one.
- Drainage: All those fixtures need to drain properly. This involves setting up the correct slope for pipes so water doesn’t just sit there.
- Electrical Outlets: Think about where you’ll need power. Charging your phone by the sink? Hair dryer? Electric toothbrush charger? Plan for enough outlets and put them in convenient spots.
- Lighting Circuits: Separate circuits for different lights (overhead, vanity, shower) can be a good idea. It gives you more control and is safer.
- Ventilation Fan: This needs its own connection, and it’s usually wired to a switch near the light.
It’s also worth noting that depending on where you live, you might need to get permits for this kind of work. It’s similar to applying for a permit to construct a deck – there are rules to follow to make sure everything is safe and up to code. Your contractor will usually handle this, but it’s good to be aware of it.
This is the ‘rough-in’ phase. It’s not pretty, but it’s the skeleton of your new bathroom. Getting this right means fewer headaches later when you’re trying to install the pretty stuff.
Don’t skimp on this step. Hiring a qualified plumber and electrician is a smart move. They know the codes, they have the right tools, and they can spot potential problems before they become expensive mistakes. It might seem like a lot of detail, but getting the plumbing and electrical right from the start makes the rest of the remodel go much smoother.
Step 6 – Add Lighting and Ventilation
Alright, so you’ve got your layout sorted, your fixtures picked out, and the plumbing and electrical are roughed in. Now, let’s talk about making that bathroom feel good and stay healthy. This is where lighting and ventilation come into play, and honestly, they’re super important.
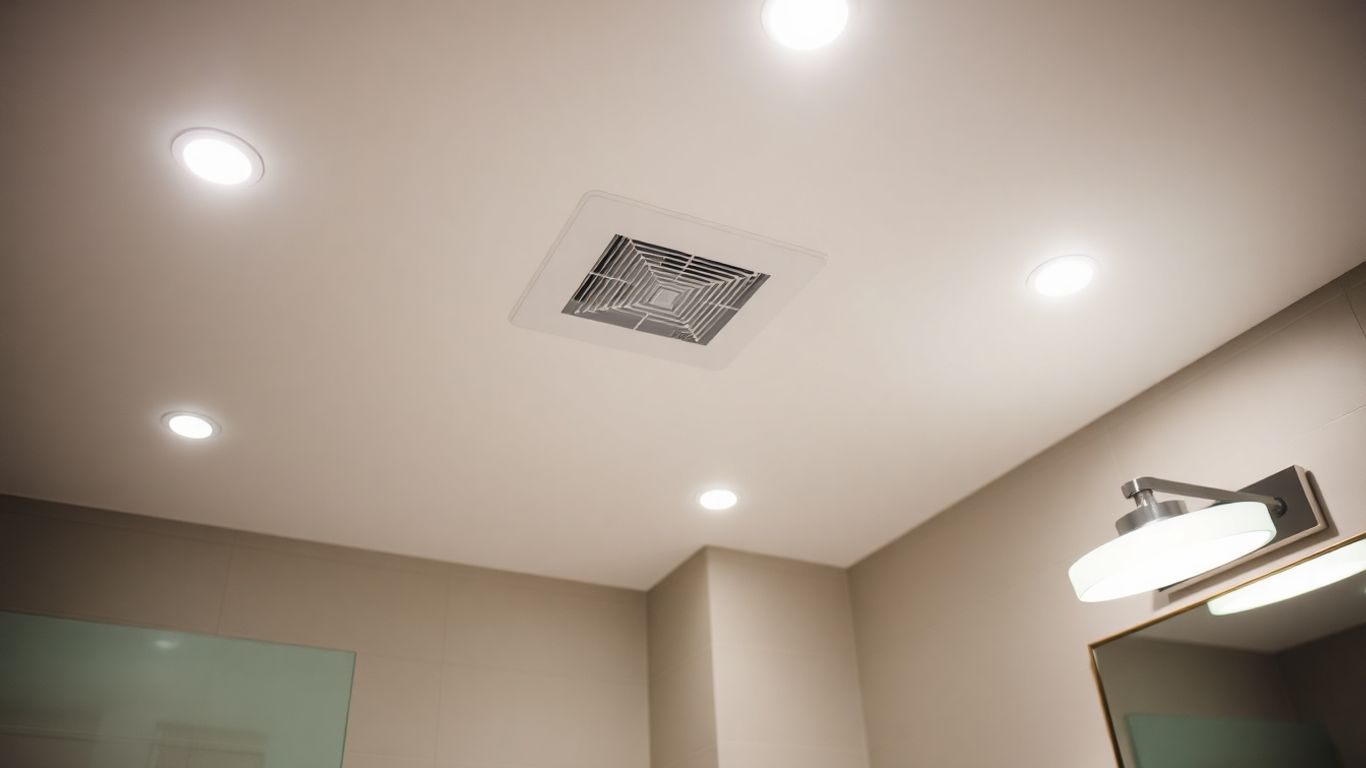
Good lighting can totally change the mood of a bathroom, making it feel bigger and more functional. Think about layers of light. You’ll want general overhead lighting, maybe a nice ceiling fixture or recessed lights, to illuminate the whole space. Then, task lighting is key, especially around the vanity. Sconces on either side of the mirror are great for reducing shadows when you’re doing your hair or makeup. And don’t forget accent lighting – maybe a small light inside a shower niche or under a floating vanity. It adds a touch of luxury.
When it comes to ventilation, this isn’t just about making things smell nice. It’s about protecting your investment. Moisture is the enemy of bathrooms, leading to mold and mildew issues that can get pretty gross and expensive to fix. You need a good exhaust fan, and it needs to be properly sized for your bathroom. Check the CFM (cubic feet per minute) rating – a general rule is 1 CFM per square foot of bathroom space, but bigger is often better, especially if you have a separate shower.
Here’s a quick rundown on making sure your ventilation is up to snuff:
- Fan Power: Get a fan with enough power (CFM) for your bathroom size. Don’t skimp here.
- Ducting: Make sure the fan is vented outside, not into the attic. This is a common mistake that causes big problems.
- Timer Switch: Consider a timer switch for the fan. This way, you can set it to run for a good 15-20 minutes after you’re done showering, even if you forget to turn it off.
- Placement: Ideally, the fan should be placed in the ceiling, away from the shower and vanity, to pull moisture from the entire room.
Don’t underestimate the power of natural light if you have a window. It can make a huge difference in how bright and airy your bathroom feels during the day. Just make sure you have privacy covered with appropriate window treatments.
So, think about how you use your bathroom and plan your lighting accordingly. And for ventilation, get it done right the first time. It’ll save you headaches down the road.
Step 7 – Focus on Design Details and Finishing Touches
Alright, so you’ve got the big stuff sorted – the layout, the plumbing, the lighting. Now comes the fun part, where your bathroom really starts to feel like yours. This is all about the little things that make a big difference.
Think about the hardware. Are you going for sleek chrome, matte black, or maybe a brushed nickel? These small details on your faucets, showerheads, and cabinet pulls tie everything together. It’s like the jewelry for your bathroom, you know?
And what about the accessories? This is where you can really inject some personality. Consider:
- Towel bars and hooks: Make sure they match your hardware and are placed conveniently.
- Soap dispensers and toothbrush holders: Do you want built-in options or freestanding pieces?
- Waste bins: A small, stylish bin can make a big difference.
- Shower curtains or doors: These are major visual elements, so pick something that complements your tile and overall style.
Don’t forget about the grout color. It might sound minor, but the right grout can make your tiles pop or blend in subtly. A contrasting grout can highlight a beautiful tile pattern, while a matching grout creates a more uniform look.
This is the stage where you really get to personalize the space. It’s about making sure every element, no matter how small, contributes to the overall feel you’re going for. Think about how you use the space daily and ensure these finishing touches make it more functional and enjoyable.
Finally, take a moment to look at the overall picture. Does everything feel cohesive? Are there any little spots that feel unfinished? This is your last chance to add those final touches that make your newly remodeled bathroom feel complete and polished.
Step 8 – Final Inspection and Functionality Check
Alright, you’ve made it to the finish line! Before you start using your brand-new bathroom, it’s super important to do a thorough check. Think of it like a final test drive for your car, but for your bathroom. You want to make sure everything works just like it’s supposed to and that there aren’t any little hiccups.
First off, check all the fixtures. Turn on the faucets – hot and cold – at the sink and the shower. Make sure the water pressure is good and that there are no leaks under the sink or around the showerhead. Flush the toilet a few times. Does it fill up properly? Does it flush with good force? No wobbling or strange noises, right?
Next, test out the doors and drawers. Do they open and close smoothly? Are the cabinet handles secure? If you have a shower door, slide it back and forth. Does it glide easily, or does it stick?
Here’s a quick checklist to run through:
- Plumbing: Check for any drips or leaks at all connections. Run water in the sink, tub, and shower. Flush the toilet.
- Electrical: Test all light switches and outlets. Make sure the fan turns on and off.
- Fixtures: Ensure faucets, showerheads, and the toilet are securely mounted and functioning correctly.
- Doors & Drawers: Confirm they operate without sticking or binding.
- Finishes: Look for any paint drips, scuffs on the walls, or loose tiles.
This is also the time to look for any cosmetic issues. Did a tile get chipped during installation? Is there a smudge on the new vanity? It’s much easier to get these things fixed now, while the contractors are still around or when you’re doing your final walkthrough with them. Don’t let small things slide; they can be annoying later.
Finally, just spend a few minutes actually using the space. Imagine you’re getting ready in the morning or winding down at night. Does the layout feel right? Is there enough space to move around? Does everything you need feel within easy reach? This final check helps catch anything that might have been missed and makes sure your beautiful new bathroom is also a joy to use every single day.
Common Bathroom Layout Mistakes to Avoid
So, you’re planning a bathroom remodel, which is exciting! But before you get too far, let’s talk about some common slip-ups people make when designing the layout. Getting this wrong can turn your dream bathroom into a daily frustration.
One of the biggest issues is simply trying to cram too much into a small space. You might want a huge soaking tub and a separate shower, but if your bathroom is tiny, it’s just not going to work. This leads to feeling cramped and makes it hard to move around. Always measure your space carefully and choose fixtures that fit proportionally. A vanity that’s too deep or a toilet that sticks out too far can really mess with the flow.
Here are some other things to watch out for:
- Ignoring Door Swings: A door that bangs into the toilet or blocks access to the vanity is a nightmare. Think about how the door opens and if it interferes with using the fixtures or moving around.
- Poor Fixture Placement: Putting the towel rack just out of reach of the shower or having the toilet right by the door can be really inconvenient. Think about how you’ll actually use the bathroom.
- Lack of Storage: Not planning for enough storage is a common mistake. This leads to clutter, which makes any bathroom feel smaller and less organized. Think about built-in shelves or a vanity with good drawer space.
- Not Enough Clearance: Just because a toilet fits doesn’t mean there’s enough room to comfortably use it. You need space around fixtures for easy movement and access.
Don’t forget to consider the ‘wet zone’ and ‘dry zone.’ You don’t want water splashing everywhere from the shower onto your dry towels or the vanity area. Planning distinct areas helps keep things functional and prevents water damage.
Another pitfall is not thinking about plumbing efficiency. Grouping your toilet, sink, and shower/tub together on one wall can save money on installation and make future maintenance easier. Trying to spread plumbing all over the place can get complicated and costly. And when it comes to the vanity, make sure you have enough counter space and storage for your needs. A vanity that’s too small might look okay, but it won’t be practical for everyday use.
Conclusion
So, you’ve made it through the whole process of planning your bathroom remodel. It’s a lot, right? From figuring out where the toilet should go to picking out the exact shade of tile, there’s a ton to think about. But by following these steps, you’ve hopefully ended up with a plan that makes sense for your space and your life.
Remember, the goal is to create a bathroom that works well for you every single day. It’s not just about looking good, though that’s part of it. It’s about having a functional space that feels right.
Here’s a quick recap of what we covered:
- Assessing your current bathroom: What works, what doesn’t, and what are the limitations?
- Dreaming up the ideal layout: Thinking about flow, fixture placement, and how you use the room.
- Making the most of what you have: Smart ways to add space or improve movement.
- Picking the right stuff: Fixtures and materials that fit your style and budget.
- The nitty-gritty: Plumbing and electrical plans are super important.
- Light and air: Don’t forget lighting and ventilation!
- The finishing touches: Details that make it feel complete.
- The final check: Making sure everything works as it should.
Don’t get too caught up in perfection. Sometimes, a few smart compromises lead to the best overall result. The key is a well-thought-out plan that balances your desires with the realities of your space and budget.
Ultimately, a successful bathroom remodel comes down to careful planning and smart decisions. With the help of home remodeling services in Montreal & Laval, you can enjoy a bathroom that’s not only beautiful but also functional and ready for everyday use.
We’ve covered a lot of ground, from starting your project to finishing it strong. If you’re ready to make your dream space a reality, don’t wait! Get in touch with us today to discuss your ideas and get a free quote. We’re excited to help you build something amazing.
Frequently Asked Questions
What’s the first thing I should do when planning a bathroom remodel?
Before you pick out any tiles or fancy faucets, the very first step is to figure out how much money you can spend. This helps keep your ideas realistic and prevents you from running into money troubles later on. It’s also a good idea to set aside a little extra cash for unexpected things that might pop up during the project.
How do I decide on the best layout for my bathroom?
Start by thinking about the main things you need: a sink, a toilet, and a shower or tub. Place these essentials first. Then, make sure there’s enough space to walk around easily. Think about how you’ll use the bathroom and arrange everything so it makes sense and feels comfortable.
What if my bathroom is really small?
For small bathrooms, it’s super important to use space wisely. You can choose smaller or wall-mounted fixtures to save floor space. Think about using things like a toilet with a tank hidden in the wall. Also, make sure not to cram too many things in, as this can make the room feel even smaller.
How important is the flow of the bathroom?
Flow is really important! It means how easily you can move around in the bathroom. You don’t want doors blocking important areas or fixtures. Try to arrange things so that moving from the sink to the shower or toilet is smooth and doesn’t feel awkward. Good flow makes the bathroom feel bigger and more pleasant to use.
Should I choose a specific style for my bathroom?
Yes, picking a style helps a lot! Whether you like modern, classic, or something else, having a style in mind makes choosing things like cabinets, tiles, and colors much easier. It also helps make sure everything in your bathroom looks like it belongs together, giving it a nice, finished look.
What are some common mistakes people make when designing a bathroom layout?
A common mistake is putting too many things in a small space, making it feel cramped. Another is not leaving enough room to move around comfortably. People also sometimes forget about where towel racks should go, making them hard to reach from the shower. It’s also easy to ignore how the door opens, which can block important areas.